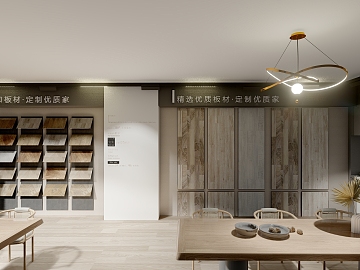
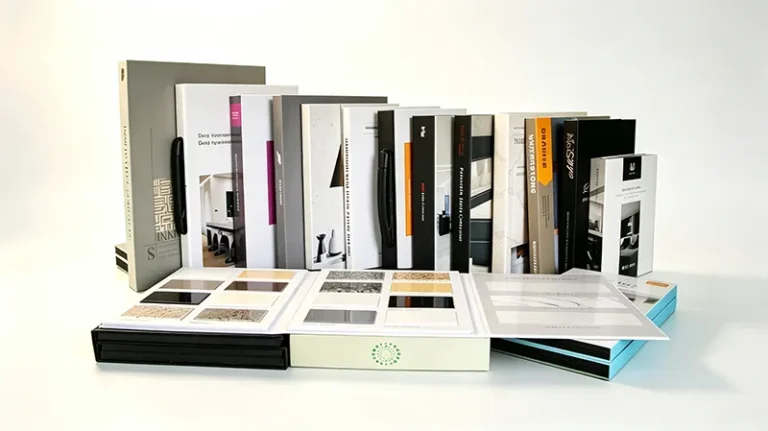
A STONE DISPLAY SOLUTION EXPERT !



10 Proven Tile Showroom Display Ideas That Instantly Improve Sales in 2026

Table of Contents
Quick Summary
The tile showroom display ideas that work in 2026 share one principle: clear zoning, hands-on experience, and a guided customer flow. Below we cover a five-step buying framework, a system comparison table, ten field-tested ideas, and layout templates for every showroom size—so you can build a space that sells instead of just storing samples.
1. What Makes a Modern Tile Showroom Successful in 2026
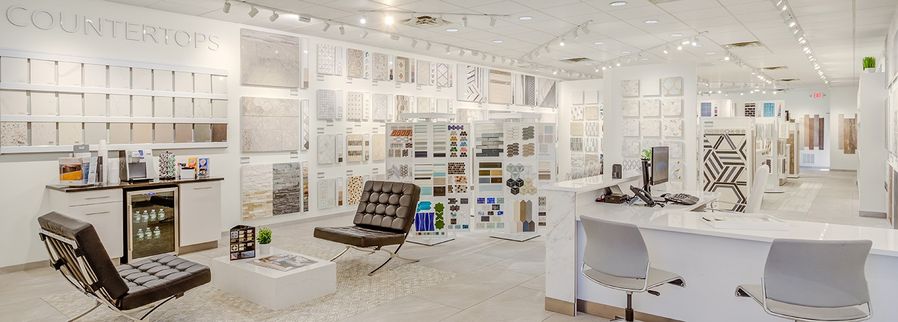
A high-performing tile showroom today balances aesthetics, efficiency, and customer experience. Buyers want quick comparisons, intuitive navigation, and hands-on interaction. Modern retailers are shifting from crowded layouts to clean presentation, guided product flow, and interactive areas that help customers make confident decisions.
Successful showrooms prioritize:
- Visual clarity—Clear differentiation of categories, finishes, and textures.
- Guided selection flow—A natural path that leads buyers from viewing to comparison.
- High-engagement displays—Systems that allow flipping, sliding, or pairing samples.
2. Five-Step Buying Guide for Choosing Display Systems
Before adopting any tile showroom display ideas, choose the right system with a simple five-step method—from defining your samples to locking in brand consistency. This keeps the later build on budget and on brief.
Step 1 — Define your sample categories
List the materials you plan to show: ceramic, porcelain, engineered stone, natural stone, LVT. Each category later maps to a fixture type, so this step decides everything downstream.
Step 2 — Measure your available space
Compact floors favour vertical racks; mid-size showrooms can add sliding systems and zoned layouts. Match density to square metres, not to ambition.
Step 3 — Map the customer flow
Guide buyers along a deliberate path—feature wall → comparison zone → tactile counter → pairing wall. This flow is the backbone of every tile showroom display idea we install, because motion builds momentum toward a quote.
Step 4 — Match display systems to each material type
Weight, size, and viewing need differ by material, so thin tile hangs on a light rack while heavy stone sits on a supported stand. Wrong pairing wastes floor and risks damage.
Step 5 — Add brand consistency
Unified colour, signage, and finish signal professionalism and lift perceived quality. Among the tile showroom display ideas here, consistency is the cheapest to apply and the longest-lasting to pay back.
3. Display System Comparison Table
| Display Type | Best For | Key Benefit | Space Needed | Customer Experience |
|---|---|---|---|---|
| Vertical Panels | Wall tiles / feature sets | Clear visual lineup | Narrow | High clarity |
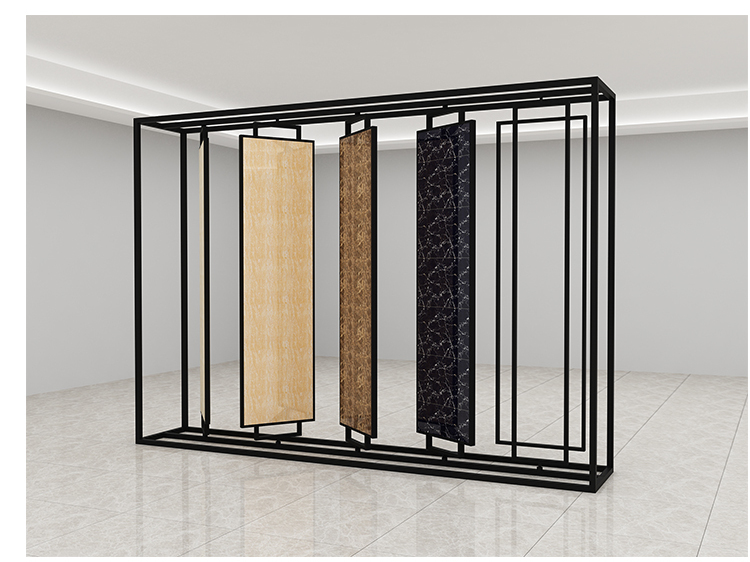
| Sliding Panels | Premium collections | Large viewing area | Medium–Large | Premium feel |
| Sample Bars | Texture testing | Tactile engagement | Small | Interactive |
| Full Wall Systems | Mixed materials | Strong branding | Large | Immersive |
This table helps identify which display structures best suit your showroom layout and product categories.
4. The 10 Most Effective Tile Showroom Display Ideas in 2026
The ten tile showroom display ideas below are drawn from showrooms we have equipped for tile, stone, and wood retailers. Each one targets a specific moment in the buyer’s path—from first glance to final decision—so you can adopt them in the order that fits your space and budget. The principles are benchmarked against the display concepts showcased each year at Cersaie, the world’s leading ceramic tile and bathroom furnishings exhibition in Bologna.
Plan the layout before you buy any fixture
Good tile showroom display ideas start with traffic flow, not products. Map where buyers enter, where they pause, and where they ask for a quote, then place fixtures to support that path. Most failed showrooms install racks first and regret the layout later; reversing that order is what keeps the centre uncluttered and your staff free to sell.
1. Use vertical display walls for best-selling collections
Vertical display walls make your best-selling tile collections the first thing a buyer sees on entering. Mount full-sheet and half-sheet samples on a continuous wall system so colour families read as a gradient rather than a grid of disconnected squares. We recommend grouping by tone (lights to darks) or by collection, with 8–12 mm gaps so grout lines and surface texture stay visible from three metres away. Pair the wall with a low pull-out rack beneath it so customers can take a sample to the tactile counter without losing the overview. Keep best-sellers at eye level (90–160 cm) and rotate seasonal lines to the ends. This is the tile showroom display idea we tell most new clients to install first, because it pays back fastest.
2. Install sliding panel zones for premium lines
Sliding panel zones let you present large-format and premium stone without sacrificing floor space. Each panel holds one full slab or several coordinated sheets and glides on a floor- or ceiling-mounted track, so a single 4 m run can reveal 8–12 premium designs in seconds. This format signals higher value than open shelving and keeps dust off the surface. In our builds we set the track height so the panel centre sits at 120–150 cm, matching the average buyer’s eye line, and add soft-close dampers so the motion feels deliberate rather than flimsy.
3. Build a touch-and-feel texture counter
A touch-and-feel counter closes the gap between “looks good” and “feels right”. Lay out loose samples of matte, glossy, structured, and anti-slip finishes side by side so a buyer can run a hand across them and feel the difference a photo never shows. Keep the counter low (around 90 cm) with good task lighting from above, and label each finish with its use case (wall, floor, wet area). We often pair this counter with the sliding wall so the customer sees the slab, then touches the finish, then asks for a quote—three steps, one flow.
4. Group products by material category
Grouping by material—ceramic, porcelain, natural stone, engineered stone, LVT—removes the single biggest source of showroom confusion: comparison paralysis. When every category has its own zone with a clear header, buyers self-navigate instead of asking staff to “find the grey one”. Weight and size also dictate the right fixture per zone, so stone sits on a supported stand while thin porcelain hangs on a light rack. We map the categories to the store’s top 20 SKUs first, then fill the perimeter with long-tail items, which keeps the high-traffic centre uncluttered. Among the tile showroom display ideas here, material zoning is the one that most reduces staff interruptions.
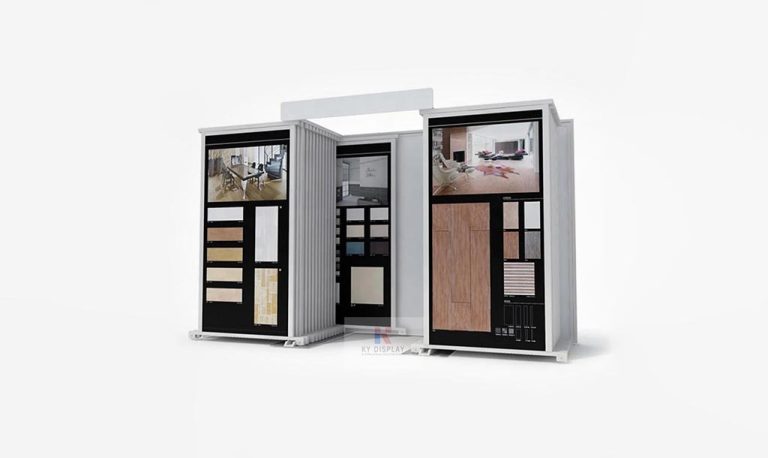
5. Create a mix-and-match pairing wall
A pairing wall turns browsing into designing. Fix a grid of wall tiles on one side and floor or countertop samples on the other, with a few “recipe” combinations pinned in the middle—this shows a client how a 60×60 floor reads against a 30×60 wall without them having to imagine it. Keep the grid modular so staff can swap in new arrivals weekly. In practice this wall generates the most photos shared to social media, which is free reach you only get when the showroom itself is worth photographing.
6. Add compact mockup scenes
Compact mockup scenes answer the question every buyer eventually asks: “but how will it look in my room?” A 1 m² bathroom corner, a kitchen splashback vignette, or a fireplace surround built from your actual samples does more than any catalogue page. You do not need a full room—one tiled niche with lighting is enough to trigger the mental picture. We build these as movable cubes on castors so the same samples double as a trade-show exhibit, stretching the investment across two channels.
7. Include oversized sample boards for feature tiles
Feature tiles—large patterns, book-matched stone, decorative reliefs—lose their impact at 20×20 cm. Oversized boards (up to 120×240 cm where the slab allows) show pattern repeat, veining continuity, and scale that a small chip cannot. Mount them on a slight forward tilt with grazing light so the texture casts a shadow and reads as three-dimensional. Reserve this format for your highest-margin hero products; using it everywhere dilutes the “this is special” signal you are trying to send.
8. Use color-coded labels for navigation
Colour-coded labels cut explanation time and let a buyer browse alone. Assign one colour per category or price tier and apply it to the sample edge, the shelf tag, and the floor decal, so the system is legible from across the room. Keep the legend at eye level near the entrance. In multi-language markets we pair the colour with an icon rather than text, which avoids translation gaps and speeds up first-time visits—staff then handle questions that actually need expertise.
9. Establish a designer consultation corner
A dedicated consultation corner lifts the average order value by moving the conversation from “which tile” to “which scheme”. Equip it with a small table, a tablet for rendering, and the pairing wall within arm’s reach so the designer can pull samples mid-talk. Physically separate it from the busy walkway with a low partition or a change in flooring, signalling “this is where projects get built”. Trade and specifier clients especially reward a space that treats them as professionals rather than shoppers.
10. Create a portable display area for seasonal promotions
A portable zone keeps new arrivals visible without rewiring your whole layout. Use wheeled racks, handled sample boards, and lightweight freestanding panels you can reconfigure for a spring collection or a holiday promotion in an afternoon. Because the pieces move, the same units serve pop-up events and in-store campaigns, so the spend pays back repeatedly. We design these kits to fold flat for shipping, which also makes them the easiest part of your showroom to loan to a partner retailer for co-marketing. Portable setups are the most overlooked of all tile showroom display ideas, yet the cheapest to test.
These ten tile showroom display ideas work best as a system, not a one-time checklist. Start with a vertical wall and a tactile counter, then layer in pairing and portable zones as your range grows. For the fixtures behind each idea, see our tile display rack and stone sample display ranges.
5. Match Display Systems to Product Categories
Choosing the right structure ensures durability, proper viewing angles, and smooth interactions.
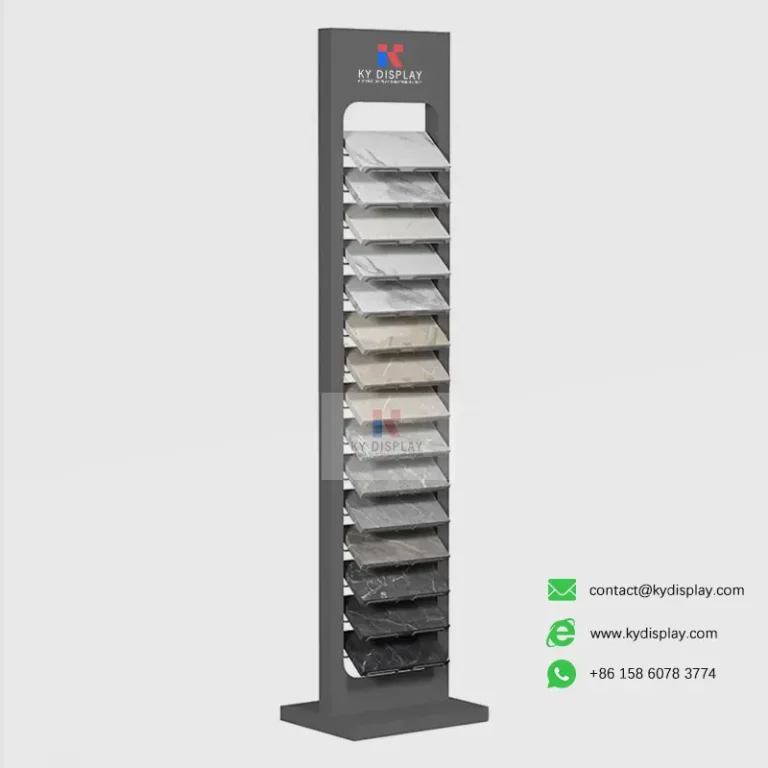
- Ceramic and porcelain products work well with a tile display rack
- Thick engineered materials are best supported by a stone sample display
- LVT, SPC, laminate, and wood surfaces fit well into a modular flooring display system
- Heavier natural stone and engineered stone benefit from a granite & quartz sample stand

6. Layout Templates for Different Showroom Sizes
Small Showroom (100–200㎡)
- Vertical arrangements only
- Central open walkway
- One tactile counter
- Highlighted new-arrival area
Medium Showroom (300–500㎡)
- Combination of vertical + sliding systems
- Clear zoning structure
- Full pairing wall for comparisons
Large Showroom (800㎡+)
- Multi-section immersive layout
- Designer workspace
- Multiple mockup zones
- Complete product pairing and testing areas
7. FAQ
What layout increases tile showroom sales the fastest?
A layout built on clear zoning, intuitive customer flow, and hands-on viewing areas delivers the quickest lift. The pattern we see most often: a vertical wall for best-sellers, a tactile counter for finishes, and a pairing wall for combinations—so the buyer moves from seeing to touching to designing in one uninterrupted path.
How often should a showroom update its displays?
Minor zoning updates every season keep the space feeling current, while a full structural refresh every 12 months protects against layout fatigue. Between those, rotate new arrivals into the portable and pairing zones so regular clients always notice something new without a costly rebuild.
What display system works best for a mixed tile and stone showroom?
A combination of vertical racks, sliding panels, and full-wall displays covers the widest range. Vertical racks handle thin tile efficiently, sliding panels present heavy stone safely, and a full wall anchors the branding—together they give clear navigation across very different materials.
8. Why U.S. Retailers Choose KYDISPLAY
KYDISPLAY supports tile, stone, wood, and LVT retailers with durable display systems, custom sizing, fast production, and professional branding options. With experience serving over 500 global showrooms, it provides reliable display solutions for all product categories and layout styles. Explore more Tile Showroom Display Ideas layout ideas on Pinterest for creative showroom design and modular sample stand inspiration.